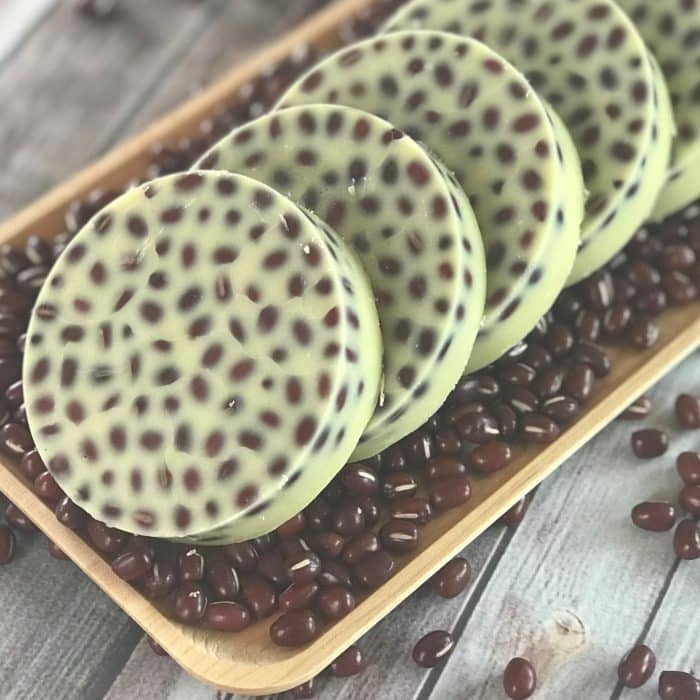
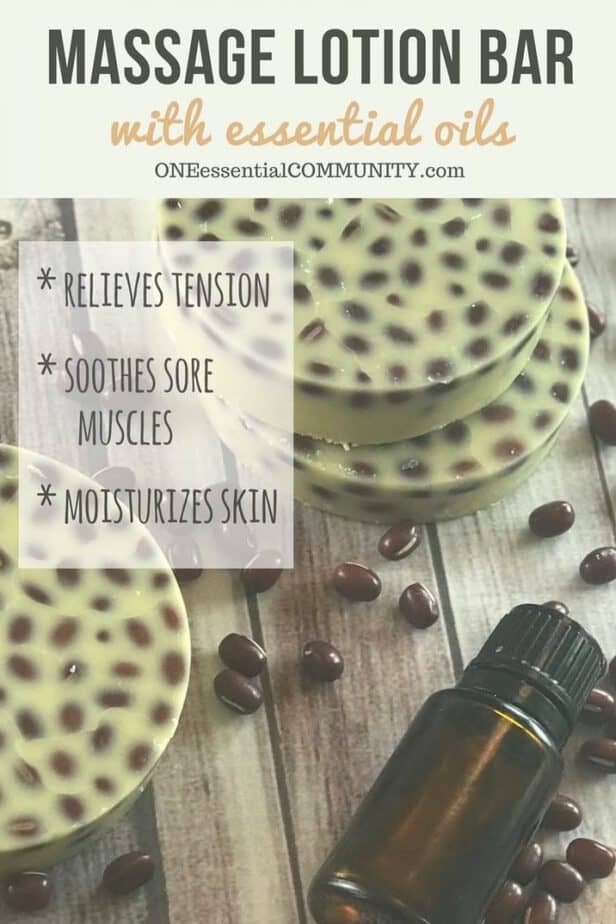
This Lush copycat recipe for Wiccy Magic Muscles massage lotion bar is so easy and only takes a few simple ingredients to make. The combination of cinnamon and peppermint essential oils provides a warm, tingly sensation that helps ease and soothe sore, achy muscles. The adzuki beans apply light pressure and feel like tiny little fingertips giving you a wonderful relaxing massage. And the combination of oils and butters deeply moisturize and nourish your skin.
If you read my blog often, you know that I’m a big fan of Lush and love creating Lush copycat recipes with essential oils. Here are a few of my other favorite Lush copycat recipes with essential oils:
Silky Underwear dusting powder
Buffy body butter
Ocean salt scrub
Dream Steam steamer tabs
Tea Tree steamer tabs
Benefits of this massage lotion bar
- The beans feel like firm fingertips giving a relaxing massage.
- Cinnamon and peppermint essential oils warm, invigorate, and soothe sore muscles.
- Jojoba oil, cocoa butter, and shea butter moisturize and nourish skin.
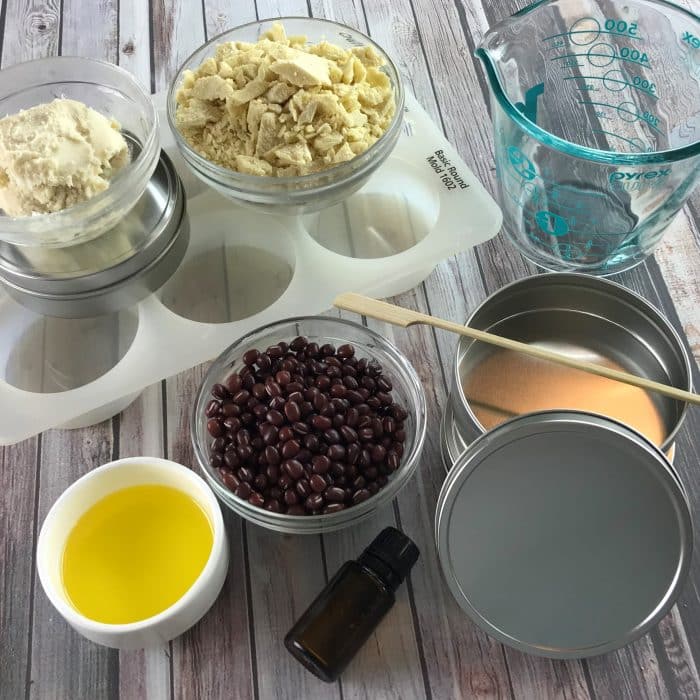
What you’ll need to make these sore muscle massage lotion bars
This website contains affiliate links. This means that should you click on certain links, and then subsequently purchase a product, I will receive a small commission. The price is exactly the same for you as it would be without the affiliate link.
adzuki beans– you can usually find these at the grocery store or find the ones I use online here
cocoa butter– find my favorite here
shea butter– find my favorite here
jojoba oil– find my favorite here
heat-safe glass bowl or measuring cup– here’s the one I use. I love the beautiful turquoise color.
silicone molds– this is the mold I used, but you can use any shape silicone mold that you’d like.
wooden stir stick– find them here
tin storage containers– I bought mine at The Container Store. You can find similar tins online here.
How to make sore muscle massage bars (copycat recipe of Lush Wiccy Magic Muscles)
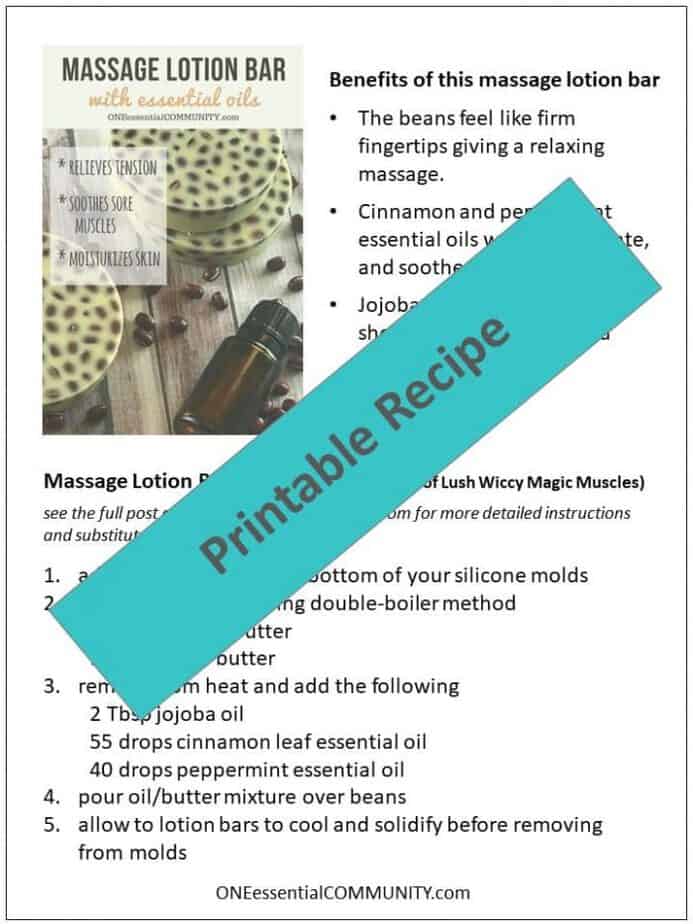
click here for a free printable of this massage lotion bar recipe
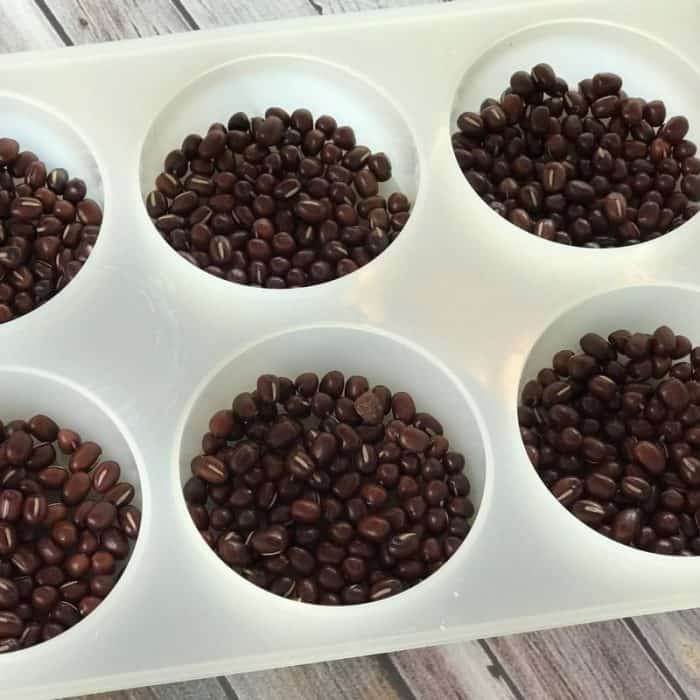
step 1: add adzuki beans to the bottom of your silicone molds
tip: make sure to cover the entire bottom of each mold cavity– this will become the top of your massage bars. And it’s these adzuki beans that will act like magical little massage fingers in the lotion bar.
tip: you don’t have to be too precise about this. As long as the entire bottom is covered in beans, it will work and look great. Adzuki beans have a nice way of lining themselves up into beautiful patterns.
tip: it’s also okay to have a few beans in a second layer. You just don’t want make a full second layer because if you use too thick of a layer of beans, your massage bar won’t be as sturdy and could break apart more easily. So keep at one layer of beans (plus a few extra beans is okay).
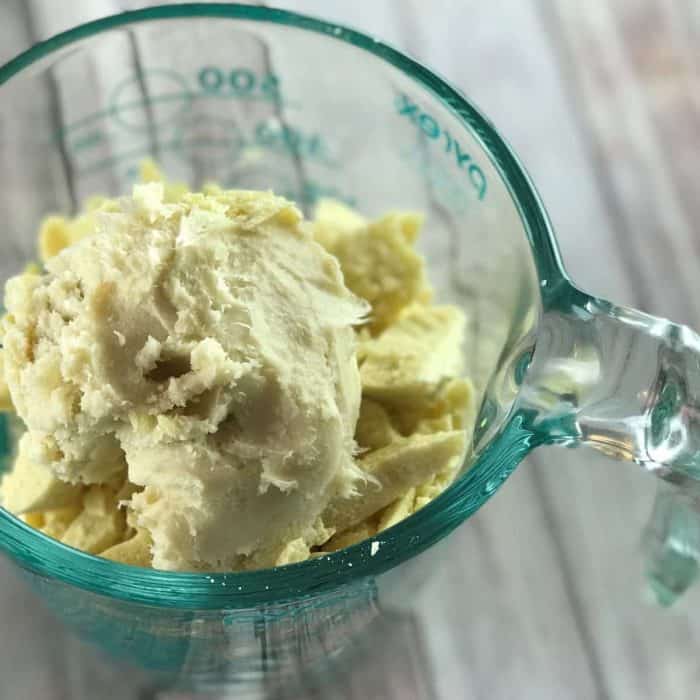
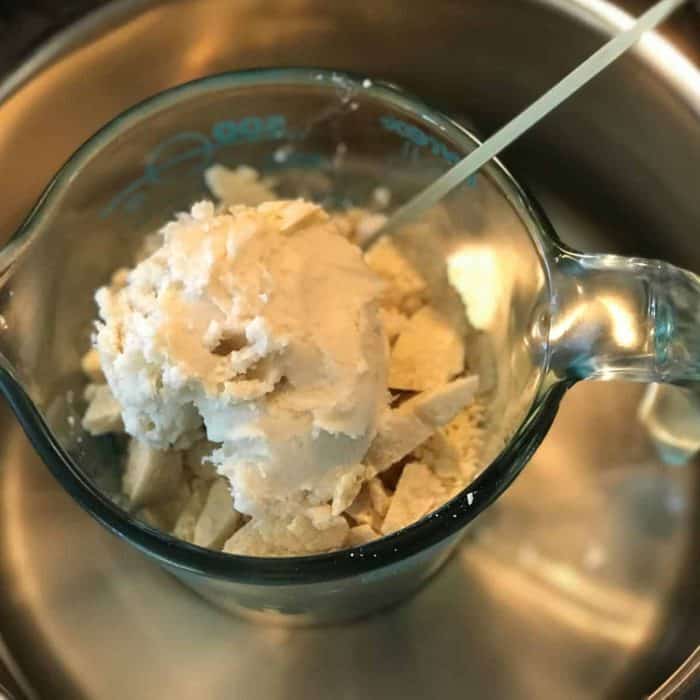
step 2: add the following to a heat-safe glass bowl or measuring cup
1.5 cups cocoa butter
1/3 cup shea butter
step 3: melt butters using double-boiler method
To do this heat water in a saucepan over medium to medium-low heat until the water is gently simmering.
Then place the place heat-safe bowl/measuring cup in a pot of simmering water.
Stir occasionally.
Continue heating until the butters have completely melted.
tip: don’t heat the butters too quickly or at too high of a temperature. Shea butter needs to be tempered at a medium-low temperature. If heated too hot, if can later become gritty.
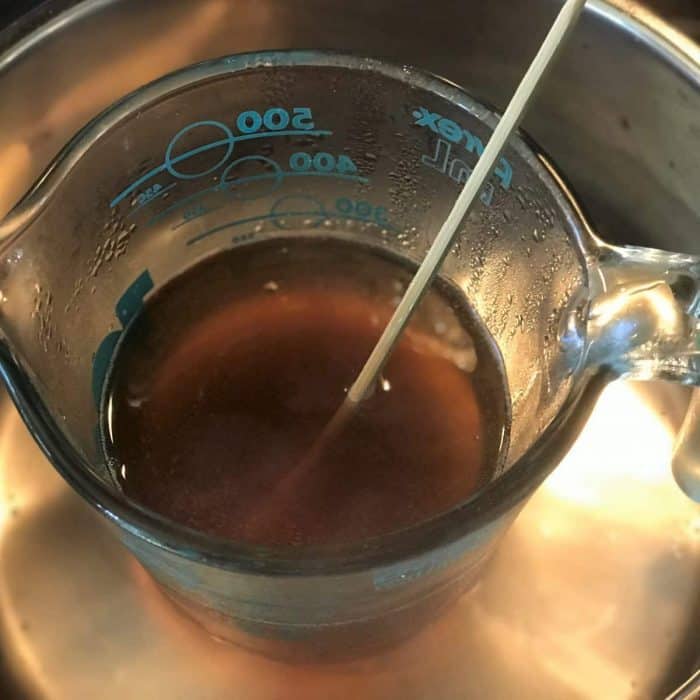
step 4: remove melted butters from heat and allow to cool for a few minutes
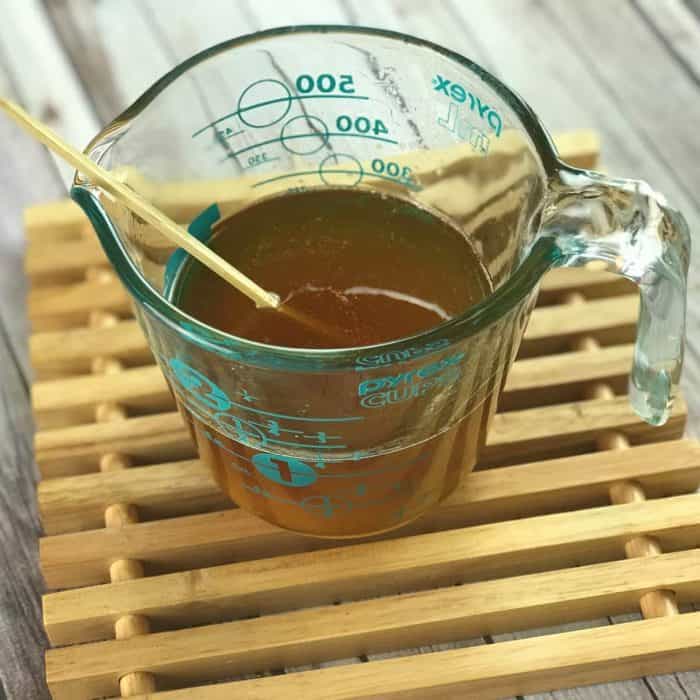
step 5: add 2 Tbsp jojoba oil
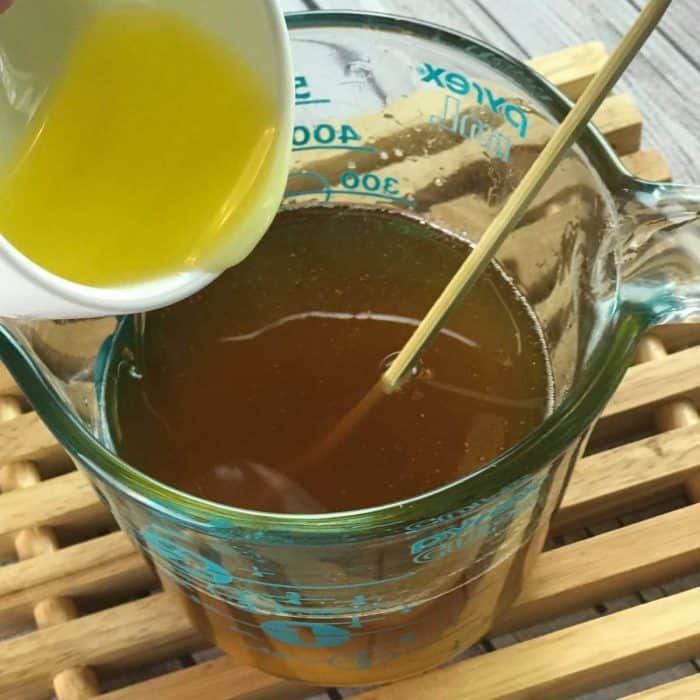
step 6: add the following essential oils (this is a 1% dilution)
55 drops cinnamon leaf essential oil
40 drops peppermint essential oil
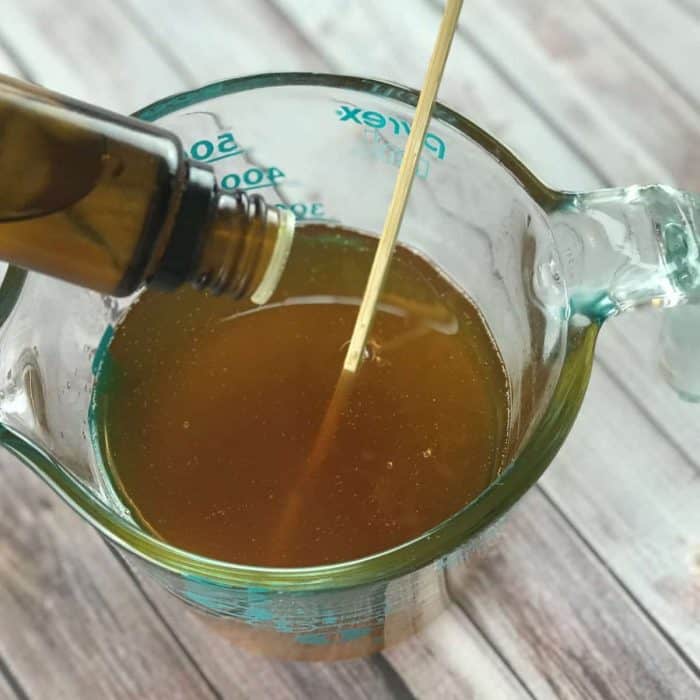
step 7: pour the mixture over the adzuki beans
tip: you want the butter/oil mixture to cover to a depth of about 2.5-3 times that of the beans.
With the silicone mold I used I poured the oil/butter about to about 2/3s the depth of each mold cavity.
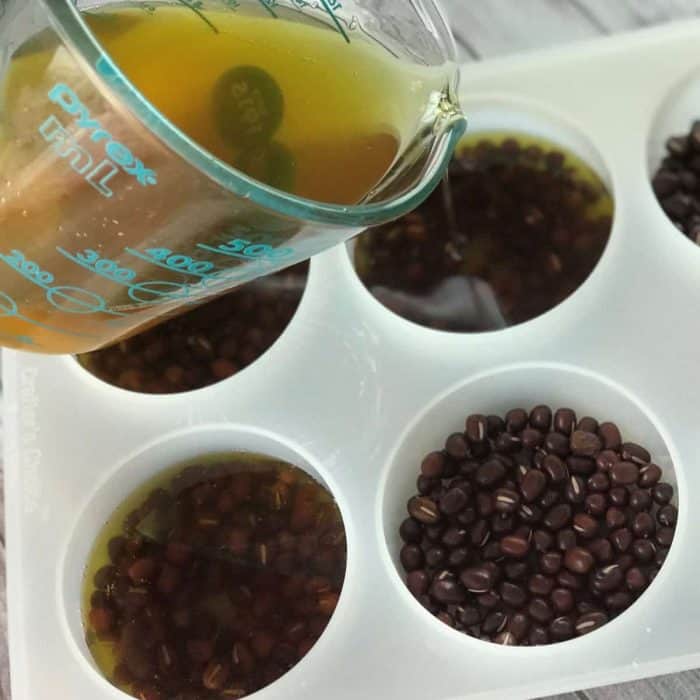
step 8: allow the massage bars to completely solidify before removing from the silicone molds
tip: you can speed this up by putting them in the refrigerator to cool and solidify
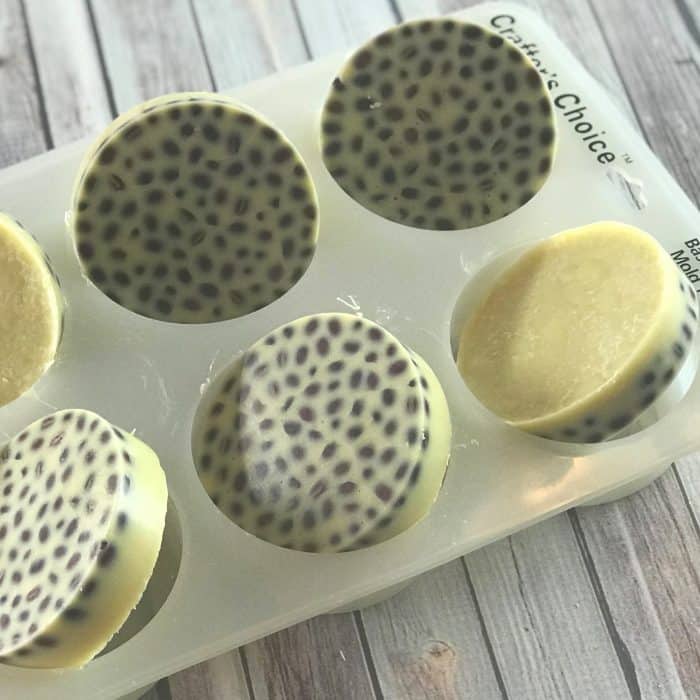
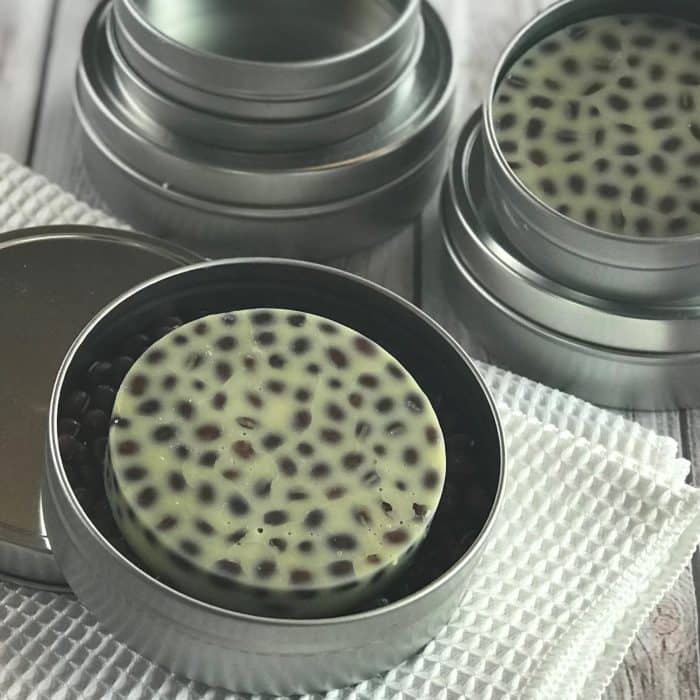
step 9 (optional): metal tins are a great way to store lotion bars like this.
tip: They come in all different shapes in sizes. If you have a tin, that’s a little larger than your lotion bars (like the tin on the bottom left below), you can customize the tin by adding a layer of adzuki beans to the bottom of the tin and then add your massage lotion bar.
Recap of the massage lotion bar recipe (copycat recipe of Lush Wiccy Magic Muscles)
click here for a free printable of this massage lotion bar recipe
(see above for tips on how to make and step-by-step photo instructions)
- add adzuki beans to the bottom of your silicone molds
- melt the following using double-boiler method
1.5 cups cocoa butter
1/3 cup shea butter
- remove from heat and add the following
2 Tbsp jojoba oil
55 drops cinnamon leaf essential oil
40 drops peppermint essential oil
- pour oil/butter mixture over beans
- allow to lotion bars to cool and solidify before removing from molds
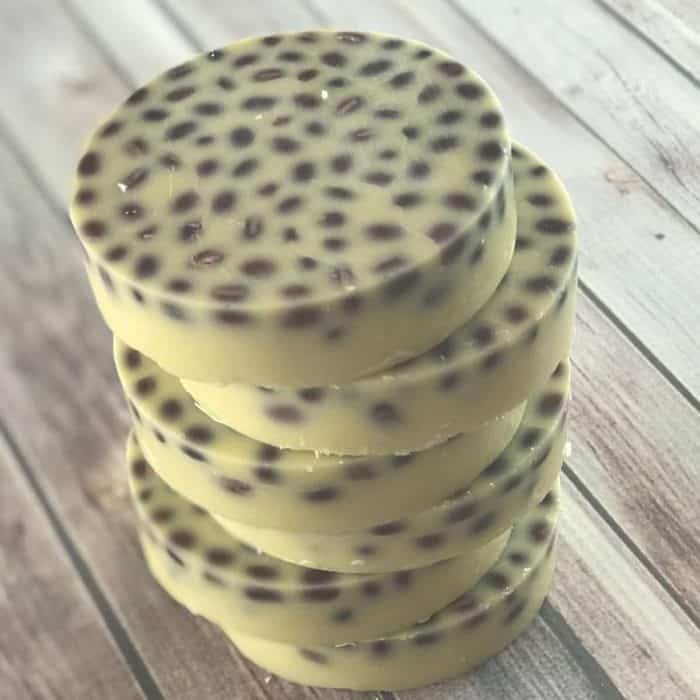
How to use sore muscle massage lotion bar
Have sore muscles from working out, gardening, or a long day?
Just glide this magical lotion bar over the sore area. The adzuki beans will work your muscles like firm little fingertips for a relaxing massage.
The wonderful blend of jojoba oil, cocoa butter, and shea butter melt right into your skin, providing deep moisturization along with the soothing comfort of a massage.
And the invigorating blend of cinnamon and peppermint essential oils soothes sore, achy muscles.
tip: store in a cool, dry place so that your lotion bars don’t melt before you’re ready to use them

Where to get supplies?
This website contains affiliate links. This means that should you click on certain links, and then subsequently purchase a product, I will receive a small commission. The price is exactly the same for you as it would be without the affiliate link.
adzuki beans– you can usually find these at the grocery store or find the ones I use online here
cocoa butter– find my favorite here
shea butter– find my favorite here
jojoba oil– find my favorite here
heat-safe glass bowl or measuring cup– here’s the one I use. I love the beautiful turquoise color.
silicone molds– this is the mold I used, but you can use any shape silicone mold that you’d like.
wooden stir stick– find them here
tin storage containers– I bought mine at The Container Store. You can find similar tins online here.
click here for a free printable of this massage lotion bar recipe
here are a few other essential oil posts that I think you’ll like:
Homemade Lysol Disinfecting Cleaning Spray
20 Favorite Roller Bottle Blend Recipes and Free Printable Labels
essential oil diffuser blends for a great night’s sleep
Kitchen & Bathroom Cleaning Wipes with Essential Oil
Calming Diffuser Blends for Stress
20 Favorite Roller Bottle Blend Recipes and Free Printable Labels
25 Ways to Diffuse Essential Oils without a Diffuser
Please join us…
click here to sign up our email newsletter
Please note: Products mentioned in this article have not been evaluated by the FDA. These products and information on this page are not intended to diagnose, treat, cure, or prevent any disease. This website is not a substitute for professional care. Always consult your medical doctor regarding your medical care. Never disregard professional medical advice or delay in seeking it because of something you have read on this website.
Disclaimer: Please know that this website contains affiliate links. This means that should you click on certain links, and then subsequently purchase a product, I will receive a small commission. The price is exactly the same for you as it would be without the affiliate link.


Is it possible to substitute anything else for the cocoa butter? Coconut oil and beeswax perhaps?
Kokum butter is a good substitute for cocoa butter.
Hi Sarah! I made these last week, but they did not harden. I wonder if I should add some beeswax? I want to make some for gifts. Thank you!
Hi Jennifer.
Yes, you could add beeswax to make them harder. Many lotion bar recipes use beeswax on the hardener. It works well, but just know that beeswax can make lotion sit on top of the skin rather than soaking in.
Another option is to add more cocoa butter. Since cocoa butter is firm, adding more will also harden the overall lotion bar.
Either way, whether you add beeswax or more cocoa butter, to do this I’d separately melt the beeswax (or cocoa butter) in a double boiler. In a separate container, I’d slowly melt down the lotion bars at a medium low temperature so that you maintain the therapeutic properties of the essential oil. Then I would add the melted beeswax (or cocoa butter) to the melted lotion bar and heat at a low temperature for a couple minutes to make sure that they are completely blended.